
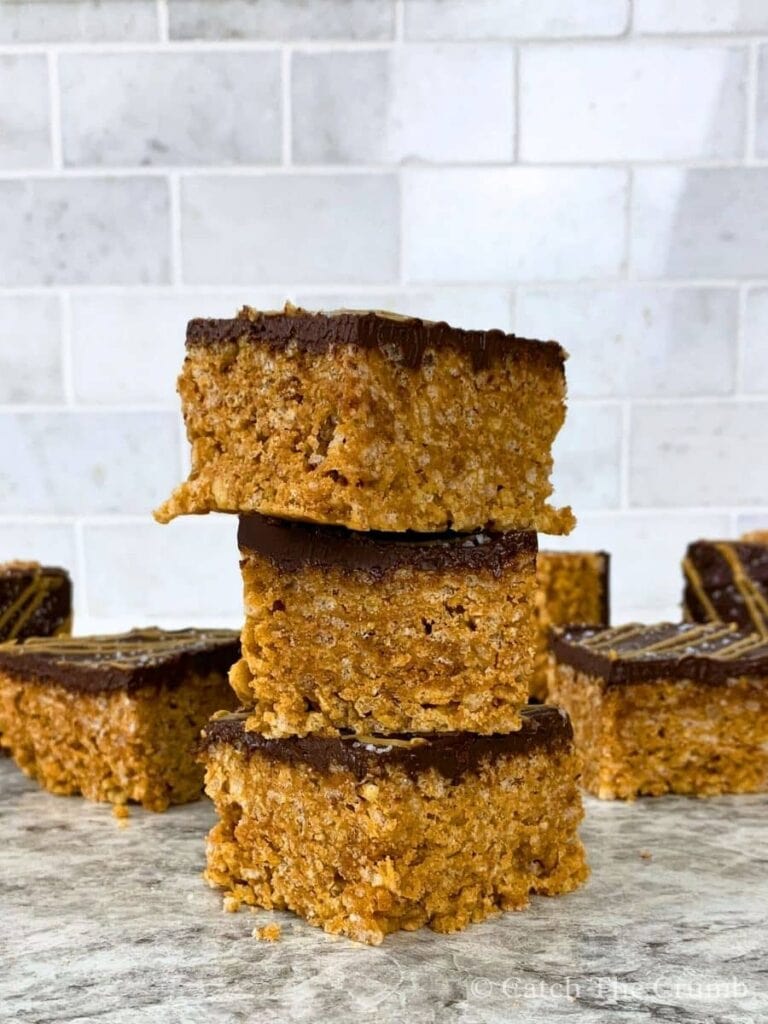
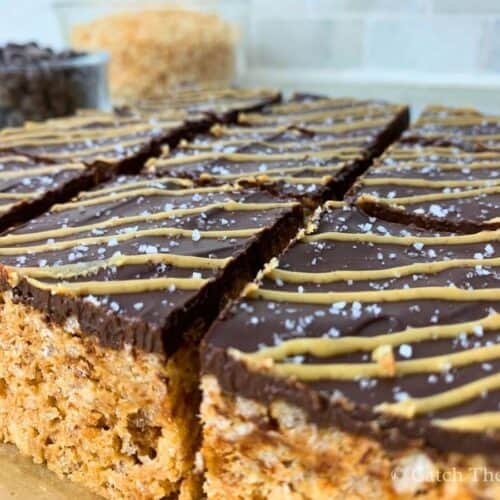
Peanut Butter and Chocolate Rice Krispies Bars
Looking for an easy recipe that’s a total crowd-pleaser? These peanut butter and chocolate rice krispies bars are about to become one of your new family favorites! Made with simple ingredients like creamy peanut butter, crisp rice cereal, and melted chocolate, this no-bake treat is the perfect combination of chewy, crispy, and chocolatey goodness.
Whether you’re whipping up a batch for a bake sale, an after-school snack, or just to satisfy that chocolate peanut butter craving with a cup of coffee, this chocolate peanut butter treat is a guaranteed huge hit. Plus, the crispy texture, thick layer of chocolate, and sprinkle of sea salt take these crispy bars to a whole new level.
Trust me, these peanut butter chocolate rice krispie treats won’t last long, so you might want to double the batch next time! Let’s get into this super simple recipe that’ll have everyone reaching for a little slice of something sweet.

This post may contain affiliate links. Please read our disclosure policy.
Ingredient List For Peanut Butter and Chocolate Rice Krispies Bars
- creamy peanut butter (you can also use crunchy peanut butter if you prefer a little extra crunch)
- honey or maple syrup
- vanilla extract
- Rice Krispies cereal (or any crispy rice cereal works great)
- semi-sweet chocolate chips
- flaky sea salt (for garnish)
Tips & Substitutions:
- Use parchment paper to line your pan for easy removal of the bars once they’re set and to keep them from sticking.
- For a little extra crunch, crunchy peanut butter is a great swap for the creamy variety!
- Feel free to use almond butter, sunflower seed butter, or even chunky peanut butter for a unique twist. I don’t recommend using natural peanut butter for this recipe. It’s often too oily or runny, which can make the bars fall apart instead of sticking together nicely. For the best texture, stick with a creamy, no-stir peanut butter.
- Swap in dark chocolate, or milk chocolate, based on your taste preferences.
- Want extra flavor? Add some peanut butter chips or crushed peanuts on top.
Storage Tips
Because these peanut butter and chocolate rice krispies bars can melt easily, I recommend keeping them in the fridge whenever possible.
- Fridge: Store the bars in an airtight container in the fridge for up to one week to help maintain their crispy texture and keep the melted chocolate layer firm.
- Room Temperature: If you prefer, you can store them at room temperature in an airtight container for 2–3 days. Just be sure to keep them in a cool, dry place.
- Freezer: To freeze, place the bars in a freezer-safe container or bag. They’ll stay fresh for up to 3 months. Thaw at room temperature or in the fridge.
How to Make Peanut Butter and Chocolate Rice Krispies Bars
Step 1: Line the Pan
Line an 8×8-inch square pan (glass baking dish preferred) with parchment paper. This makes it way easier to lift the bars out once they’re set.
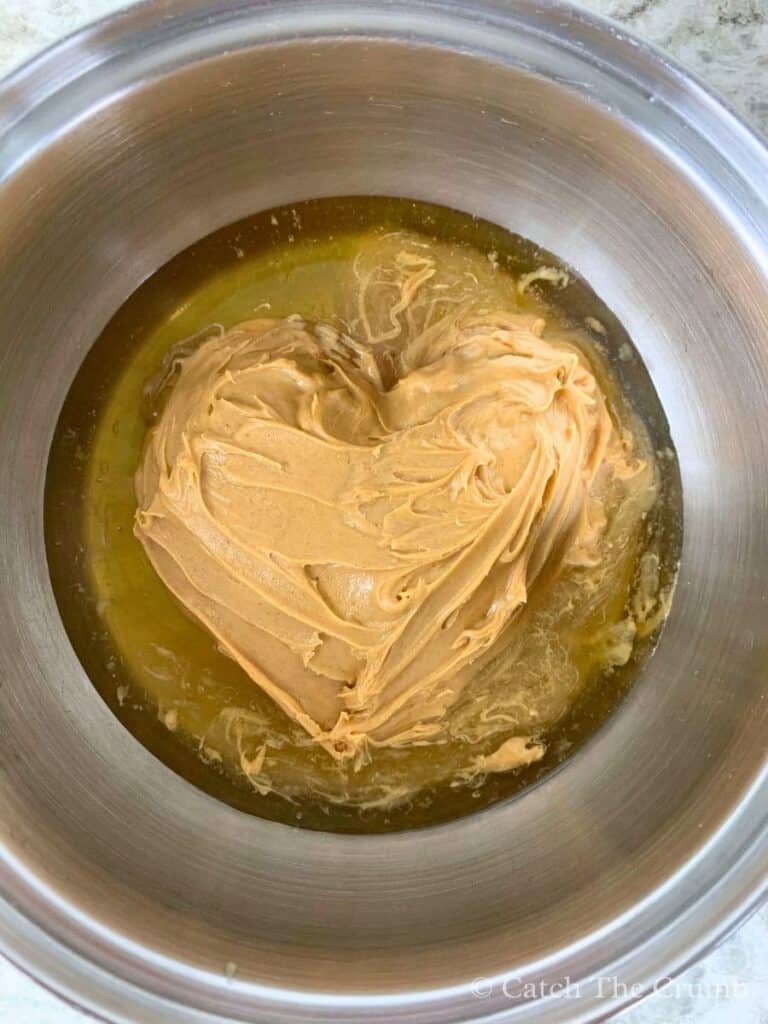
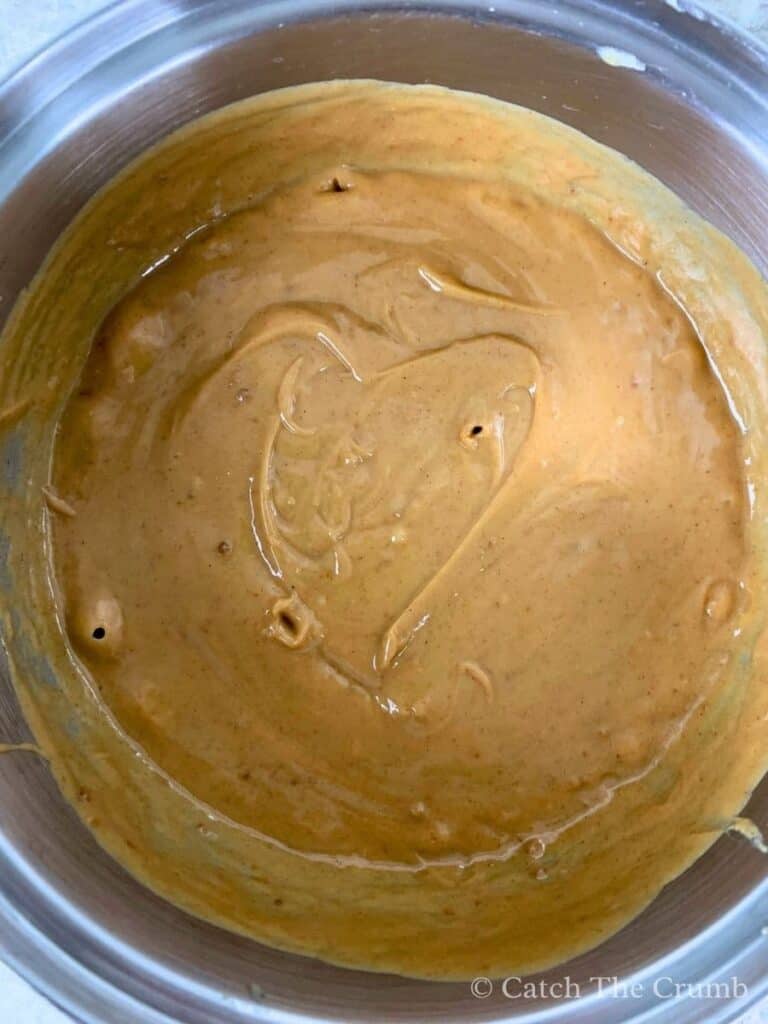
Step 2: Combine Peanut Butter and Honey
In a large pot over medium-low heat, combine peanut butter and honey (or maple syrup). Stir often so it doesn’t burn to the bottom. Once the mixture starts to gently boil, let it boil for 2 full minutes, stirring as needed.
Step 3: Coat the cereal
Turn off the heat and remove the pot from the stove. Stir in vanilla extract. Add Rice Krispies cereal and mix everything together until the cereal mixture is fully coated.
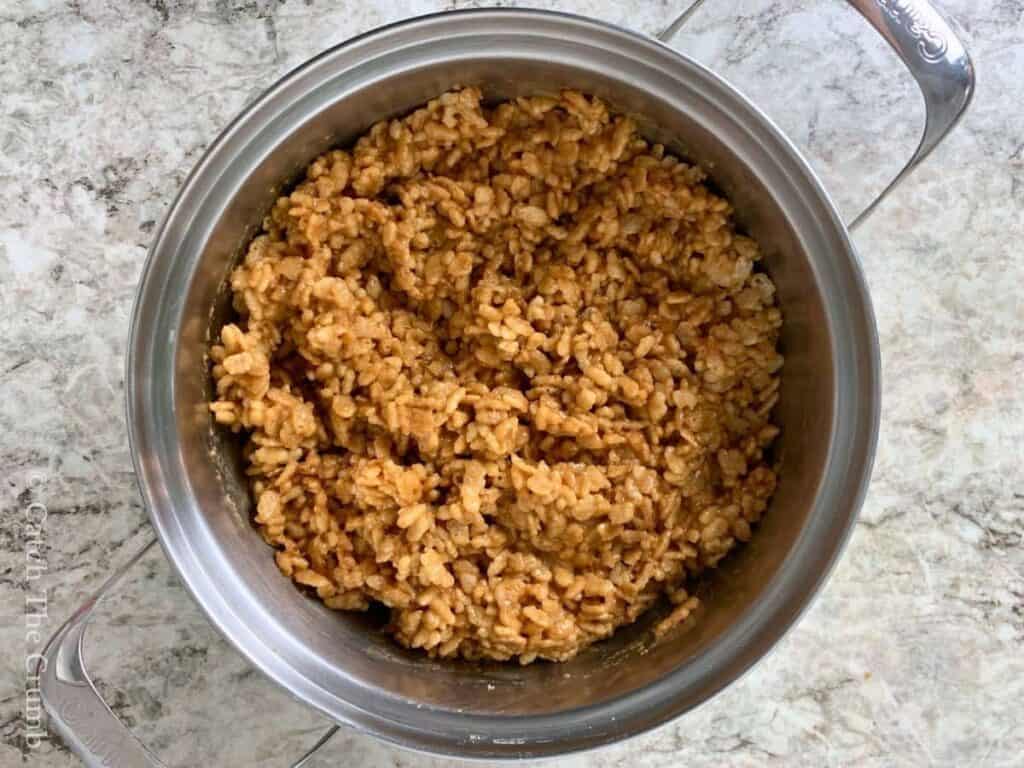
Step 4: Press and Freeze the mixture
Transfer the cereal mixture into the prepared pan. Press it down firmly using a silicone spatula or the back of a spoon to make sure it sticks together well. Pop the pan in the freezer while you prepare the topping.
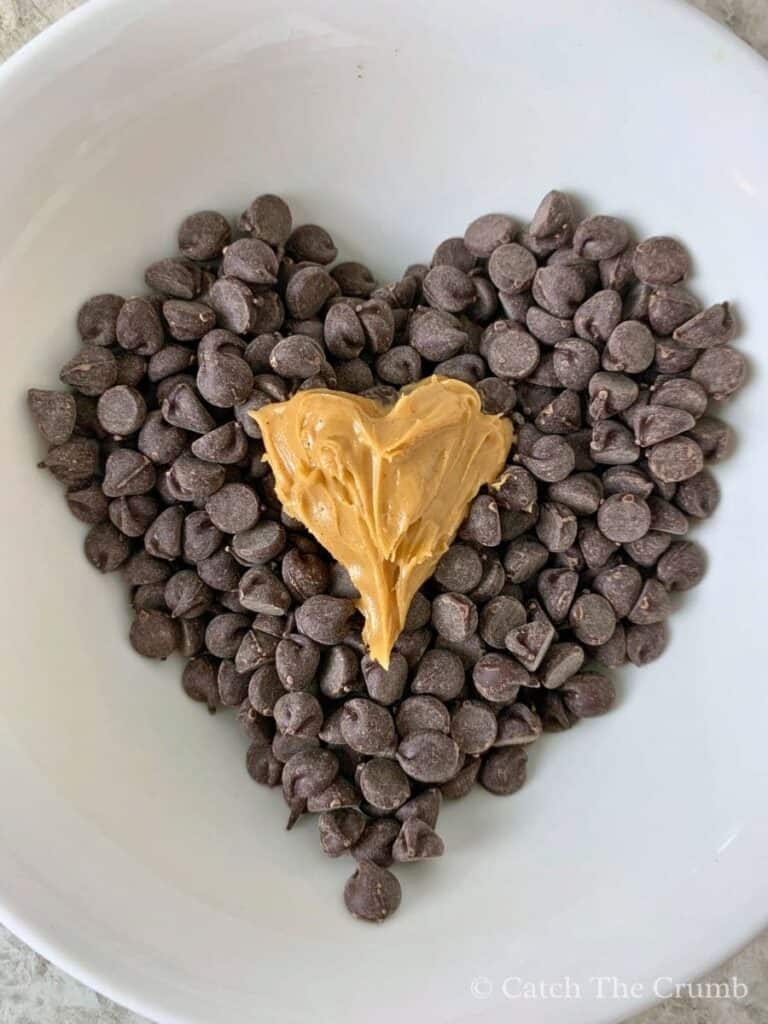
Step 5: Prepare the topping
In a microwave-safe bowl, combine semi-sweet chocolate chips and peanut butter. Microwave in 30 – 45 second intervals, stirring in between, until smooth. Let the melted chocolate cool down just slightly (you don’t want it super hot when you pour it on). Spread the chocolate evenly over the cereal base. Place the pan back in the freezer.

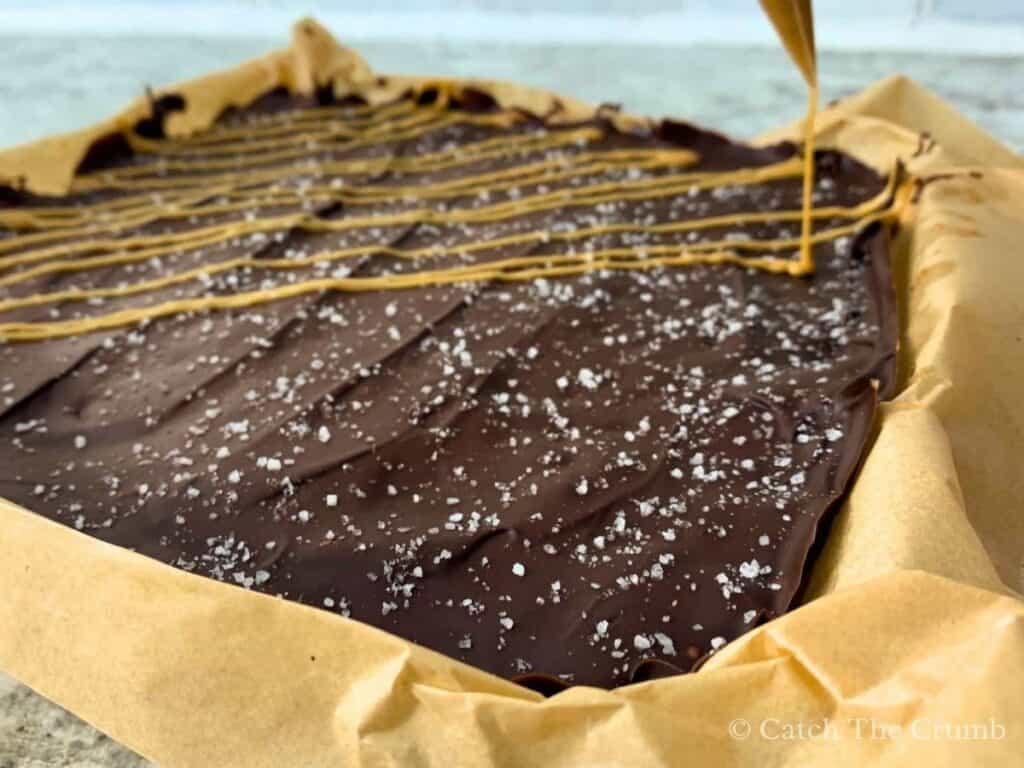
Step 6: Garnish and chill
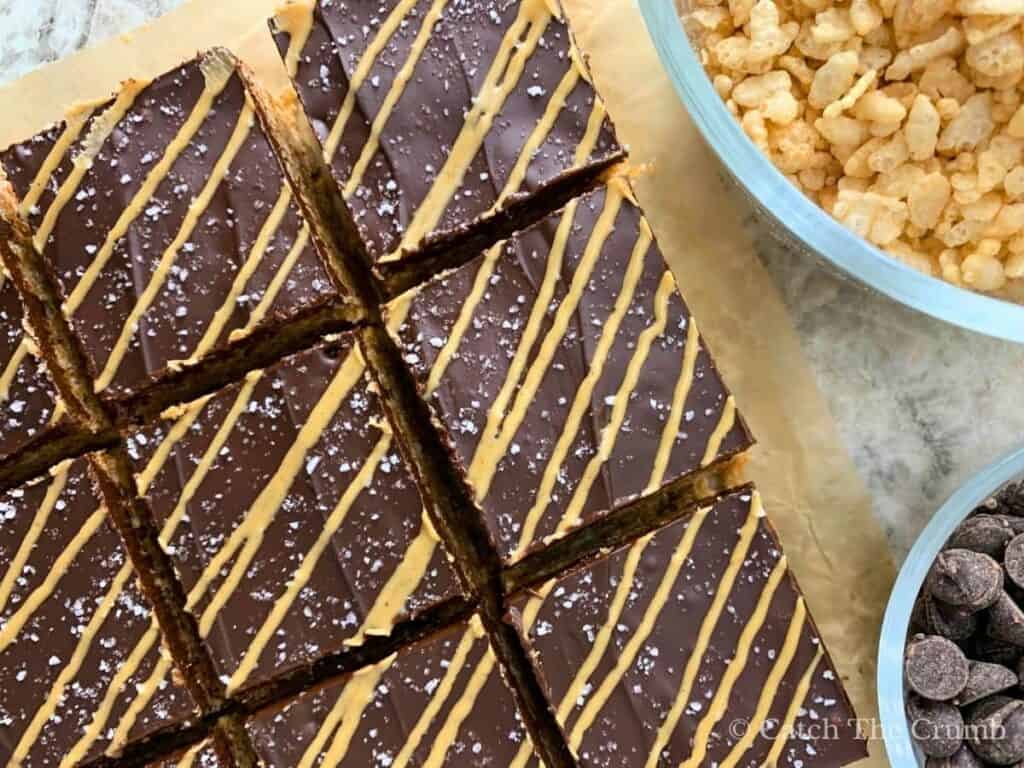
After about 15 minutes, sprinkle flaky sea salt over the top. Melt 1 – 2 tablespoons of peanut butter and drizzle it over the chocolate layer. Move the pan to the fridge and let the bars chill for about 1 hour until fully set. Once chilled, cut into 16 squares.
Tip: If you’re having trouble cutting through the chocolate, try running a sharp knife under hot water, drying it completely, and then slicing. This makes cutting much easier! Just remember to be careful!
Peanut Butter and Chocolate Rice Krispies Bars
Ingredients
Base
- 1 cup (240g) smooth peanut butter
- ⅔ cup (227g) honey or maple syrup
- 1 tsp vanilla extract
- 4 cups (110g) Rice Krispies
Chocolate Topping
- 1 cup (170g) semi-sweet chocolate chips
- 1 tbsp (15g) peanut butter
Garnish
- 1-2 tbsp (15-30g) melted peanut butter
- ½ tsp flaky sea salt
Instructions
- Line an 8×8-inch pan with parchment paper.
- In a large pot, melt peanut butter and honey (or maple syrup) over medium-low heat, stirring often. Once it comes to a boil, boil for 2 minutes, stirring constantly.
- Remove from heat, stir in vanilla. Mix Rice Krispies cereal into peanut butter mixture.
- Press the cereal mixture firmly into the prepared pan. Freeze while making the chocolate topping.
- Melt chocolate chips and peanut butter in a microwave-safe bowl in 30 – 45 second intervals, stirring often.
- Spread the melted chocolate over the base. Freeze for 15 minutes.
- Sprinkle with flaky sea salt and drizzle with melted peanut butter.
- Chill in the fridge for 1 hour until fully set.
- Cut into 16 squares. Enjoy!
Notes
- Use parchment paper: It makes lifting and cutting the bars much easier (and way less messy).
- Peanut butter matters: Stick with creamy, no-stir peanut butter for the best texture. Avoid natural peanut butter if possible.
- Crunchy peanut butter: If you love extra texture, crunchy peanut butter works great too!
- Chocolate topping tip: Let the melted chocolate cool slightly before spreading it over the base. This helps it go on smoothly without melting the cereal mixture underneath.
- Cutting tip: If the chocolate topping is too firm to cut easily, run a sharp knife under hot water, dry it, and slice carefully.
- Storage: Keep the bars in an airtight container in the fridge for the crispiest texture. They can also be frozen for up to 3 months!
Did you try this recipe? I’d love to see how it turned out! Leave a comment below and tag @catchthecrumbsourdough on Instagram to show it off!